|
I start with a basic design, sometimes on the computer, but in this case it was just as easy to do a pencil
sketch. I then scanned and emailed the sketch for final approval.

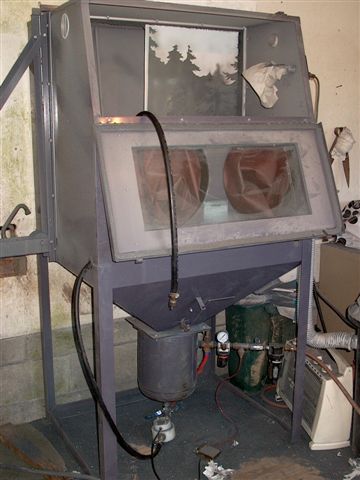
Next I put the glass in my booth. I have a Glide Through Carver that I got through Photobrasive
Systems in Minnesota. The booth allows me to work on large pieces of glass up to 6' wide and virtually any
length. I have hand cut the vinyl and will be blasting the last layer here. (The front door of the booth is still open
in this picture!)
|
 |
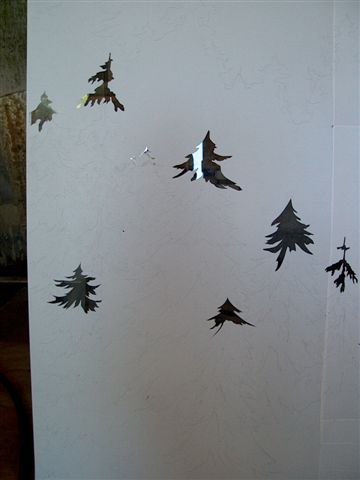
I then transfer the design to a resist. In this case Mac-tac. If I had done the design on
the computer I would then take the design (or email it) to my friends sign shop.( Mark Paetz at the Instant Sign Shop.) He
would then cut the design in sign vinyl for me.
In the layering process I take one section of the resist at a time. Any pieces that are not touching can
come off first.
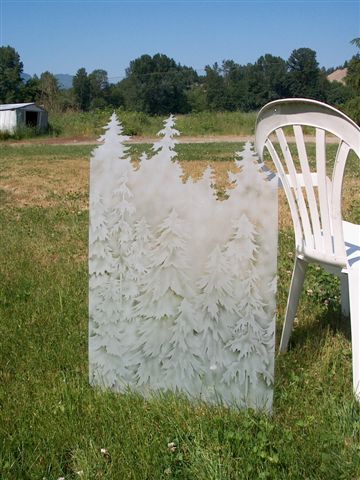
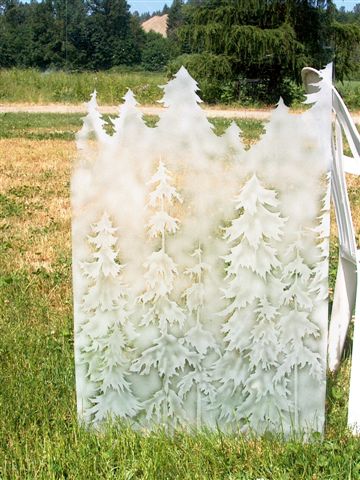
This is the final result!
|
|
This is the second window to the set. These windows were for privacy windows
in two bathrooms. The house is absolutely beautiful and is in Shawnagin Lake. The owners built it to rent out as
a vacation home.
|
|
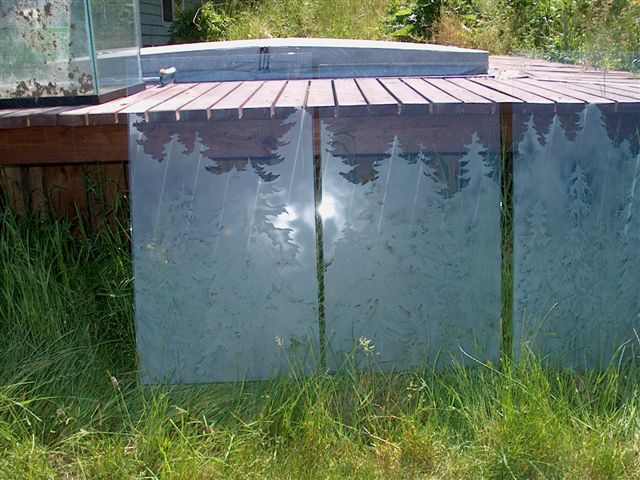
Here's a picture with three of the windows side by side.
There were four all together.
|