|
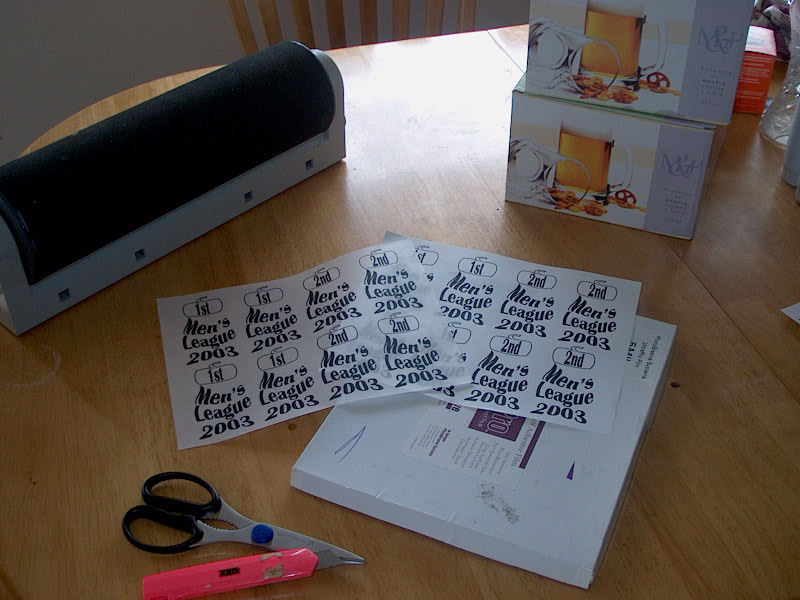
- Glass project
- Photo sensitive film
- Design
- Design Negative
- Light exposure unit
- Scissors
- pressure nozzle
- Water

| Getting Started |
|
Create a negative of you design on onion skin.
When placing the film and negative in the exposure unit be aware which side of the film will
be next to the glass.
| Exposing film |

|
Expose the film for approximately 3 minutes. The exposure time will vary with the quality of
the negative you are using. eg. Less opaque = less time

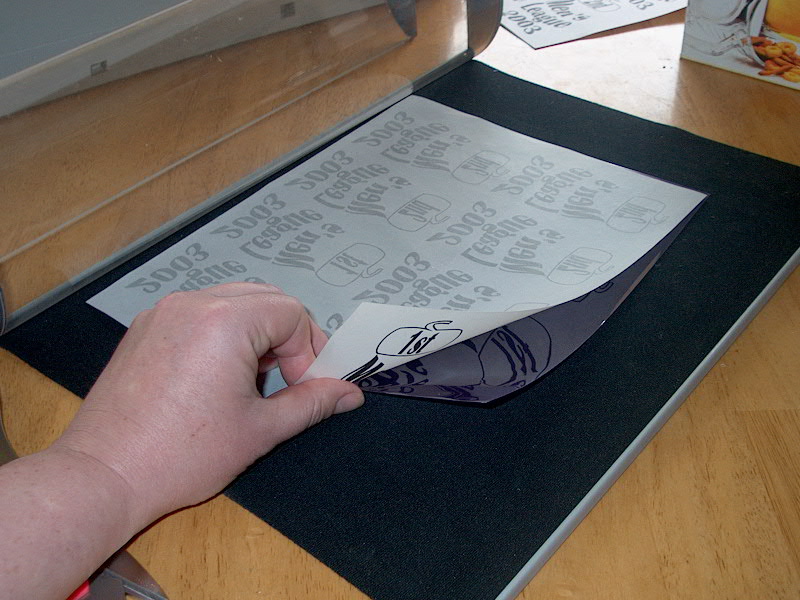
After exposing the film, remove the protective sheet.
It is the sheet that has less shine to it.
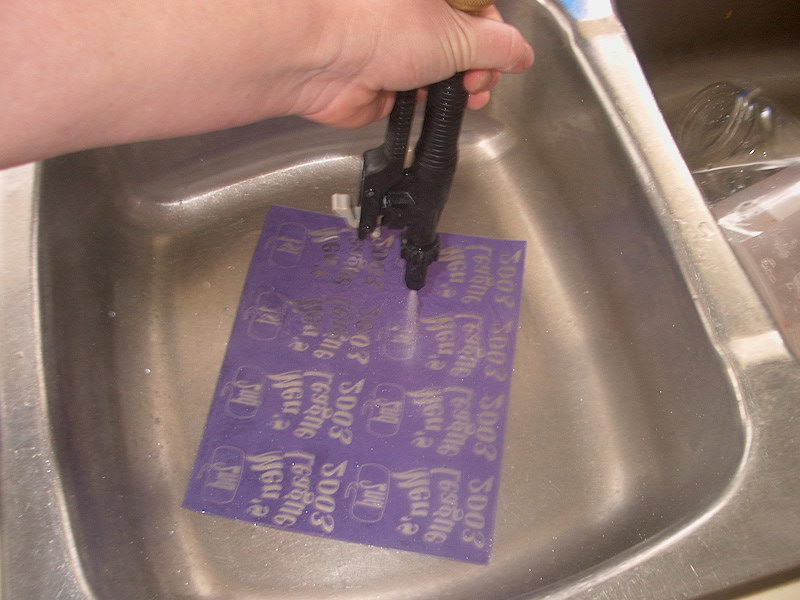
Using Warm water and a high pressure nozzle , wash out the design.
You won't see the design at first, but as you are spraying it will appear.
It will take a few minutes spraying to get the design clear.
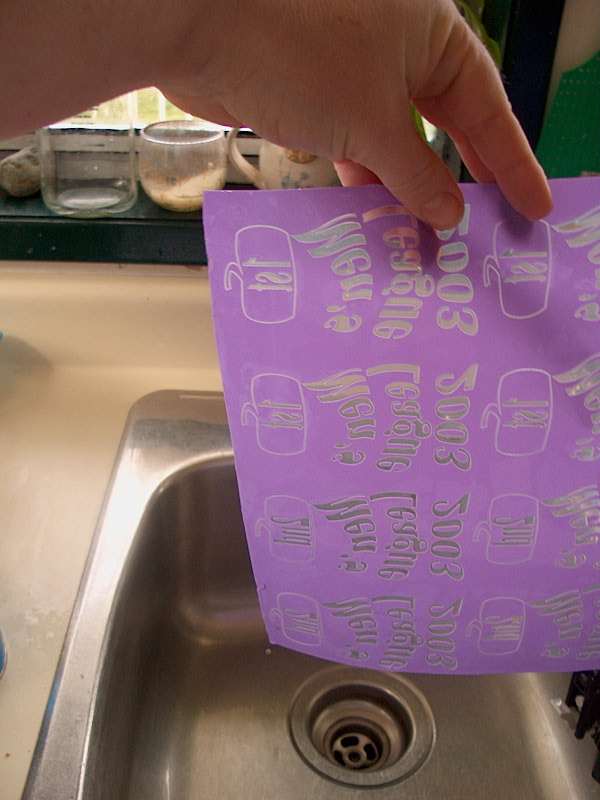
Let the film dry.
I like to hang mine on the fridge or a cork board.
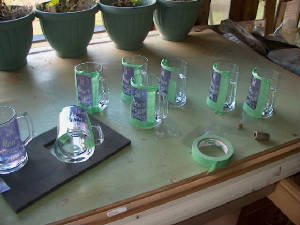
Cut out the individual designs and apply to glass.
Mask of the edges to protect from overspray.

|
| Blasting in the booth |
The fun part.
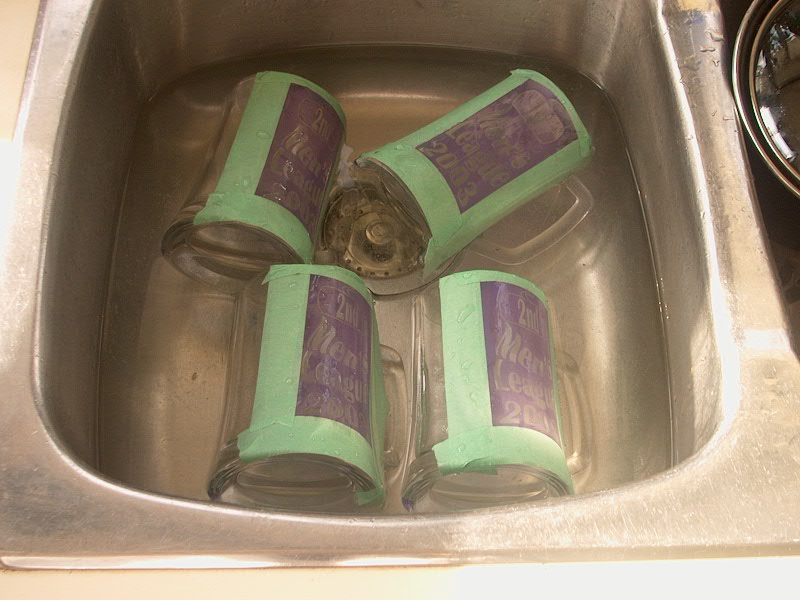
Soak the glass in warm water and remove the film.
Rinse carefully to remove any sand.
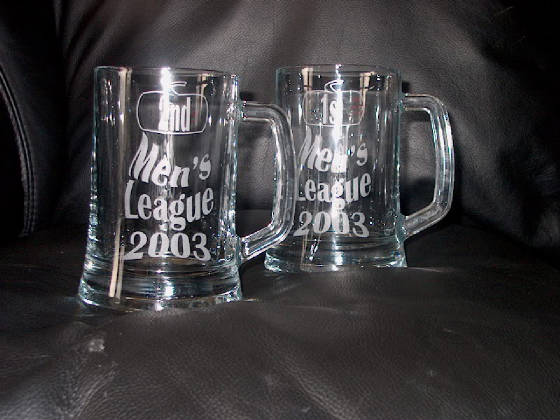
The finished project!
|